DIY Floating Shelves: A Step-by-Step Guide
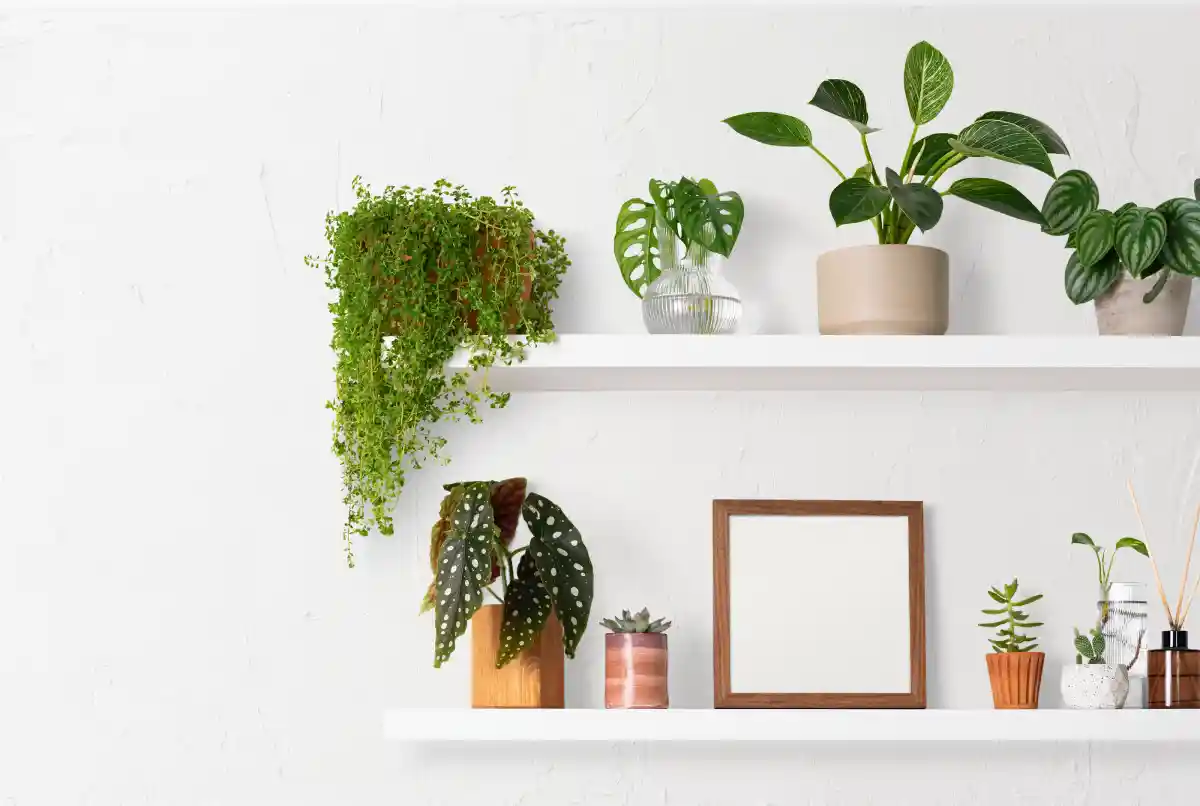
Creating custom floating shelves has always fascinated me. It's about making unique storage that looks great and works well. Imagine turning a blank wall into a showcase for your favorite things.
In this guide, I'll show you how to make your own floating shelves. We'll cover everything from the benefits to the installation steps. This guide is for anyone, whether you're experienced or new to DIY projects.

Key Takeaways
- Discover the versatility and benefits of floating shelves for your home
- Learn about the different styles and materials to choose from
- Understand the importance of weight capacity and proper support
- Acquire the essential tools and materials needed for your project
- Develop a plan for shelf layout and wall assessment
Understanding Floating Shelves: Benefits and Design Possibilities
Floating shelves are a great way to add style and storage to your home. They make any room look clean and simple. Knowing the benefits and design options helps you pick the right shelves for your space.
Modern vs. Traditional Floating Shelf Styles
Floating shelves come in many styles, from modern to traditional. Modern floating shelves have simple designs and bold colors. They fit well with modern decor.
Traditional floating shelves add warmth with natural wood and details. They match classic interiors well.
Weight Capacity and Support Considerations
It's important to think about the weight and support of your shelves. They need to hold the items you plan to display safely. Make sure the shelves can handle the weight and the wall can support them.
"Investing in high-quality floating shelves with a robust support system can make all the difference in creating a visually stunning and functional storage solution."
Exploring floating shelves can open up new ways to design your home. They offer both style and practicality, making your space better.
Essential Tools and Materials for Your Project
Making your own DIY floating shelves needs a good toolkit and quality materials. Whether you're experienced or new to woodworking, the right tools and supplies are key. Let's look at what you'll need to make your woodworking projects come to life.
Essential Tools
- Miter saw or circular saw for precise wood cutting
- Power drill and drill bits for creating pilot holes and mounting the shelves
- Orbital sander or palm sander for a smooth finish
- Measuring tape and pencil for marking and measuring
- Level to ensure your shelves are perfectly straight
- Clamps to hold your wood pieces in place during assembly
Necessary Materials
- Wood planks in your desired size and thickness, such as pine, cedar, or oak
- Wood glue for a sturdy bond between the wood pieces
- Screws, anchors, and wall brackets for secure wall mounting
- Sandpaper in various grits for a polished surface
- Wood stain or paint (optional) to customize the appearance
- Protective gear like safety glasses and gloves
"The right tools and materials are the foundation for any successful DIY project. Invest in quality supplies, and your floating shelves will not only look great but also stand the test of time."
With the right tools and materials, you're ready to make stunning, functional floating shelves. These will enhance any room in your home. Always remember to stay safe and follow best practices during the building process.
Floating shelves from beginner to expert level
Planning Your Shelf Layout and Wall Assessment
Creating the perfect floating shelves for your home needs careful planning. You must assess your wall structure well. The success of your shelf installation depends on understanding the layout, finding the right support points, and picking the best location. Let's explore the key steps in this process.
Finding Wall Studs and Support Points
Finding the wall studs is key for a strong shelf base. Use a stud finder or knock on the wall to find these solid wood supports behind the drywall. These spots are where you'll attach your shelf brackets for the best support.
Measuring and Marking Guidelines
- Measure the shelf length and mark the wall where the studs are.
- Draw a straight line with a level at the marks for the shelf's top.
- Measure the shelf depth and mark below the line for its placement.
Choosing the Right Location
When picking a spot for your shelf, think about home improvement tutorials, foot traffic, and design. Pick a spot that fits your space, is easy to reach, and looks good.
"With careful planning and attention to detail, your floating shelves will not only look stunning but also provide a secure and functional storage solution."
By following these steps, you'll get a successful shelf installation that meets your needs and boosts your home's beauty.
Types of Wood and Materials Selection Guide
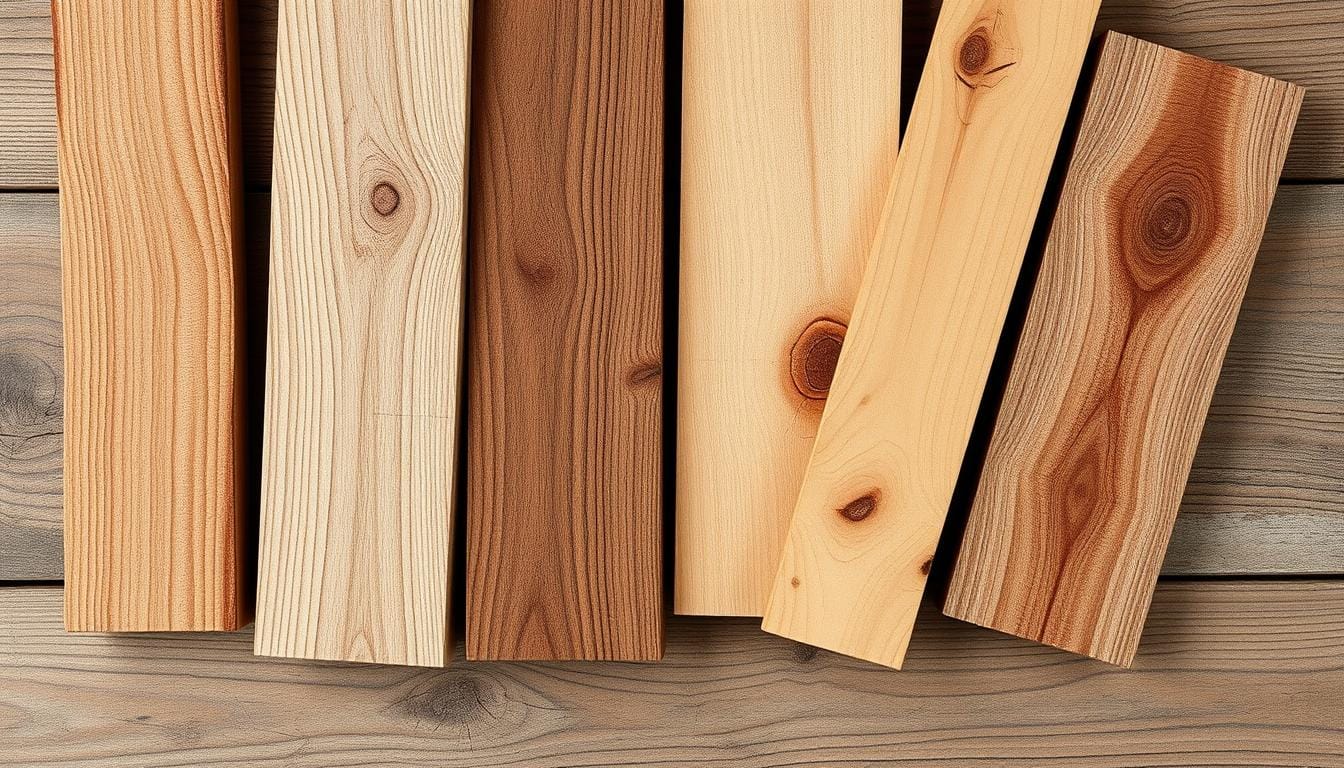
Choosing the right wood for your diy furniture is key. It affects the look, durability, and cost of your floating shelves. Knowing the different types of wood and their features helps you pick the best for your project.
Solid Wood Options
- Oak - A classic and sturdy choice known for its rich grain and natural beauty.
- Pine - An affordable and versatile softwood that is easy to work with.
- Maple - A hardwood with a smooth, uniform texture and light color.
- Cherry - A warm, reddish-brown hardwood that adds a touch of elegance.
Engineered Wood Alternatives
- Plywood - A cost-effective option with a layered construction for added strength.
- MDF (Medium-Density Fiberboard) - A budget-friendly choice with a smooth, consistent surface.
- Laminate - Offers a wide range of color and pattern options, perfect for a modern aesthetic.
Think about durability, appearance, and budget when picking materials. Solid woods are pricier but offer a timeless look. Engineered options are more budget-friendly and still look great. Choose wisely to match your project's needs.
DIY Floating Shelves: A Step-by-Step Guide
Building your own floating shelves is a great woodworking project. It can change the look and use of any room. This guide will help you make beautiful and useful floating shelves, perfect for your home.
Cutting and Preparing Your Materials
First, cut and prepare the materials you need. Measure the size of your shelves and cut the wood. If using pre-finished wood, sand the edges for a smooth look. Also, cut any extra pieces for the support inside.
Building the Internal Support Structure
The support structure is key for your shelves. Start by making a strong frame with wood strips or brackets. Attach it to the wall studs for stability. This structure will hold your shelves up.
Creating the Outer Shell
Now, build the outer shell of your shelves. Attach the wood pieces to the support frame. Use glue and nails or screws for a smooth finish. Sand and stain or paint the shelves to match your style.
"The key to successful DIY floating shelves is attention to detail and a solid support structure. With the right tools and materials, you can create beautiful and functional shelves that will enhance any room."
Wall Mounting Techniques and Hardware Options
Mounting your floating shelves on the wall is key for their stability and your safety. Look into different wall mounting techniques and hardware options. This will help you install shelves that are sturdy and meet your storage needs.
Bracket Systems for Floating Shelves
Bracket systems are a top choice for mounting floating shelves. They come in various styles and materials, offering both function and style. You can find:
- L-shaped brackets
- Invisible or hidden brackets
- Floating shelf brackets with integrated hangers
- Decorative metal or wooden brackets
Wall Anchors and Studs for Secure Mounting
To make sure your shelves can hold the weight you need, anchor them well to the wall. This means finding and securing the shelves to wall studs or using strong wall anchors. Some choices include:
- Wood screws into wall studs
- Hollow wall anchors for drywall installation
- Concrete anchors for masonry walls
Choosing the right hardware and mounting techniques is vital for a successful shelf installation.
"A well-executed shelf installation can transform any space, adding both functionality and style."
Safety Considerations and Weight Distribution
When you're installing floating shelves, safety comes first. It's important to distribute weight properly and use the right anchoring methods. This ensures your shelves stay stable and secure for a long time.
Maximum Load Calculations
Before you start drilling, figure out the maximum weight your shelves can hold. This depends on the wall type, shelf size, and the hardware's strength. Make sure the items on your shelf don't weigh more than what's recommended.
Proper Anchoring Methods
- Locate the wall studs: Find the wall studs behind the drywall for the strongest anchors.
- Choose the right hardware: Pick screws, anchors, and other parts that can handle the weight you'll be supporting.
- Follow installation instructions: Read and follow the hardware's instructions carefully for safe and proper installation.
By calculating the maximum load and using the right anchors, you can enjoy your shelves safely. Your home improvement project will look great and be structurally sound.
Finishing Touches and Wood Treatment
Improving your DIY floating shelves is all about the finishing touches. Look into various wood treatments to boost their look and life. This will enhance your home decor and furniture projects.
Wood finishing offers several choices. Staining can add a deep, vibrant color that matches your home decor ideas. Painting gives a clean, personalized look that fits any space.
Sealing your shelves is key for protection and a glossy finish. A clear sealant or varnish protects the wood and highlights its natural beauty. This keeps your shelves looking great for years.
The right finishing touches can transform your shelves from useful to outstanding. Explore different wood treatments to find the best for your home decor ideas and diy furniture.
"The details are not the details. They make the design." - Charles Eames
Staining for Depth and Color
Staining your shelves adds a rich, warm look that fits your home decor ideas. Choose from classic oak to trendy walnut to change your DIY furniture's look and feel.
Painting for a Customized Look
Want a modern look? Painting your shelves lets you blend them into your home decor ideas. Try different colors and finishes to match your space perfectly.
Sealing for Protection and Longevity
Sealing your shelves protects your investment and makes them last longer. A clear sealant or varnish not only guards the wood but also makes it look better. This makes your diy furniture a highlight in your home.
Common Mistakes to Avoid During Installation
Starting a home improvement project like installing floating shelves is exciting. But, knowing common mistakes can help avoid frustration. By avoiding these errors, you can make sure your shelf installation goes smoothly.
Troubleshooting Tips
Running into problems during installation? Don't worry, there are solutions. One big issue is not finding and securing wall studs correctly. Use a stud finder to find the studs and make sure your brackets are securely attached.
Another common mistake is not checking the shelf's weight capacity. Before you start, figure out how much weight your shelves can hold. This will prevent them from sagging or breaking.
Quick Solutions for Common Problems
- Make sure your wall is clean, level, and free of debris before you start.
- Choose the right wall anchors and hardware for your wall type and shelf weight.
- Double-check all measurements and markings to avoid misalignment or uneven shelf placement.
- Apply a wood sealant or finish to protect your shelves from wear and tear.
By being careful and solving problems early, you can improve your home improvement tutorials and shelf installation experience. This will add a beautiful and functional touch to your home.
"The key to successful DIY projects is anticipating and addressing potential challenges before they arise. With the right preparation and troubleshooting strategies, you can turn your floating shelf dreams into reality."
Styling Your Floating Shelves
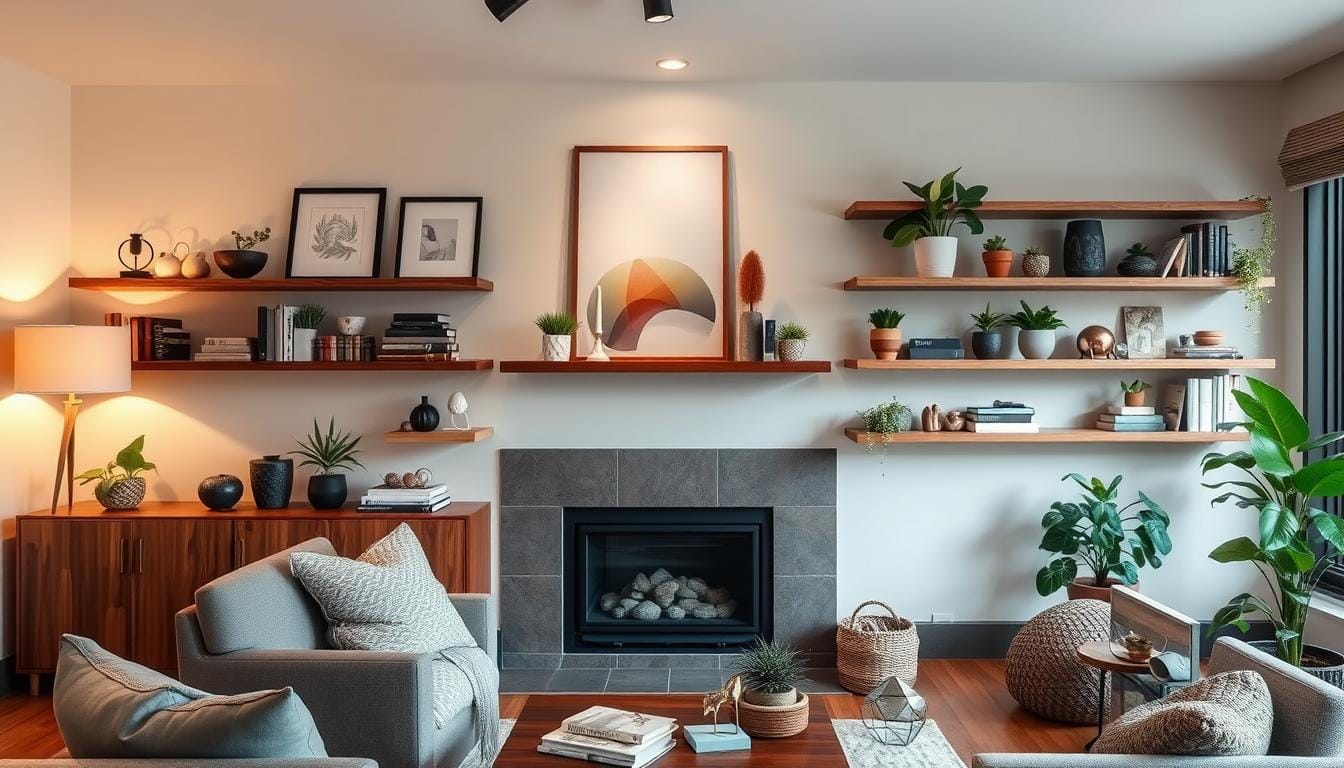
Get creative and turn your floating shelves into beautiful home decor pieces! Make any room look better by arranging different items on your shelves. You can create stunning displays or keep things organized.
Think about the look you want. Do you like a clean, modern style or something cozy and rustic? This will help you pick the right items and arrange them nicely.
Décor Essentials for Your Floating Shelves
- Decorative vases, planters, or sculptures to add depth and visual interest
- Framed artwork, photographs, or mirrors to create a gallery-inspired display
- Stacks of books, both for functionality and to add texture and height
- Carefully curated knickknacks, trinkets, or collectibles that reflect your personal style
- Greenery, such as potted plants or fresh flowers, to bring a touch of nature indoors
It's important to balance looks and use. Add practical items like baskets or bins to keep things tidy. With some creativity, your shelves can become a beautiful centerpiece in any home decor or interior design setup.
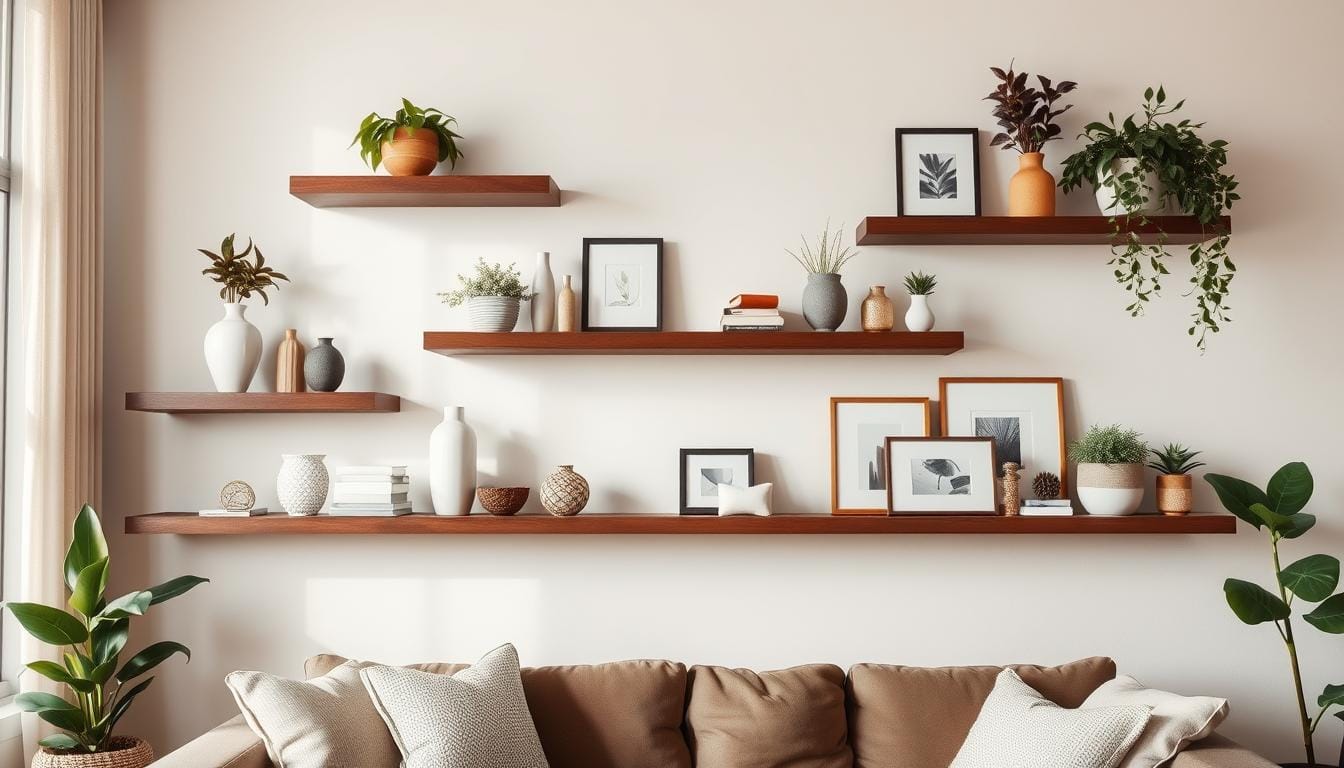
"The key to creating a visually compelling display on your floating shelves is to play with varying heights, textures, and shapes. This will add depth and visual interest to your arrangement."
Maintenance and Care Tips
Keeping your DIY furniture, like the floating shelves you've made, in great shape is key. It keeps them looking good and working well for a long time. Whether you're experienced or new to DIY, knowing how to take care of your shelves is important.
This guide will show you how to keep your floating shelves looking new. You'll learn about cleaning, managing weight, and checking them often. By following these tips, your DIY home decor will last for many years.
Cleaning and Dusting Your Floating Shelves
Make cleaning a regular part of your routine. Use a soft cloth and a gentle cleaner that's safe for wood. Don't use harsh chemicals or rough materials, as they can harm the wood and its finish.
Proper Weight Distribution and Load Monitoring
Watch how much weight you put on your shelves. Stick to the weight limit you set during installation. Spread the weight out evenly and check often for any signs of damage. This helps keep your shelves strong and safe.
Inspecting and Maintaining the Hardware
It's important to check the hardware and brackets often. Look for any signs of looseness or wear. Tighten screws or replace parts if needed. This keeps your shelves safe and working right.
By taking care of your DIY floating shelves, they'll be a beautiful part of your home for years. They'll add beauty and function to your space, showing off your DIY skills.
"Proper maintenance is the key to the longevity of any diy furniture piece. With a little care and attention, your floating shelves can become a lasting addition to your home."
Budget-Friendly Alternative Methods
If you're on a tight budget, there are ways to make floating shelves without spending a lot. Look for cheaper materials and quick installation methods. This way, you can get a similar look without breaking the bank.
Cost-Saving Material Options
Instead of hardwood, try plywood, MDF, or reclaimed wood. These options are cheaper but still look good. You can also use wood veneers or laminate to make your shelves look more expensive.
Time-Saving Installation Tricks
Installing floating shelves can be quick and easy. Use pre-fabricated brackets or wall-mounted systems. These options save time and effort, letting you enjoy your new shelves fast.
FAQ
What are the main benefits of using floating shelves in my home?
Floating shelves add a sleek, modern look to your space. They help you use every inch of room. Plus, you can place them anywhere you need, making your home look neat and organized.
What tools and materials do I need to build my own floating shelves?
You'll need basic tools like a saw, drill, and level. Also, get the right wood, wall anchors, and shelf supports. Having these tools ready makes your DIY project easier and more successful.
How do I determine the best location for installing my floating shelves?
Choose a spot based on wall studs, space, and room layout. Find the studs for a strong hold. Measure the area for the right size. Pick a spot that fits your decor and needs.
What types of wood or materials are best suited for DIY floating shelves?
Your choice depends on what you like, your budget, and the look you want. Options include solid wood, engineered wood, metal, or concrete. Each has its own look, durability, and price.
How do I ensure the floating shelves are properly secured and can support the desired weight?
Make sure the shelves can hold the weight you need. Use the right anchors and hardware. Keep the shelves level and tight to the wall. This ensures they're safe and last long.
What are some common mistakes to avoid when installing floating shelves?
Avoid not finding wall studs, using wrong hardware, not leveling, and overloading. Pay attention to these to get shelves that last and look great.
How do I style and arrange items on my new floating shelves?
Arrange items by color, size, or theme. Mix heights, textures, and shapes for a lively look. Change things up now and then to keep your shelves interesting.
How do I maintain and care for my floating shelves?
Keep them clean and dust-free. Don't overload them. Check the hardware often. A wood sealant can also protect your shelves.


